とまにちは、とまとま(@toma_moneykatsu)です。
ブログを運営する方にとって、ドメインパワーを上げることはとても重要ですよね。
一般的にドメインパワーを上げるには、良質なコンテンツをアップし続ける必要があります。
![](https://tomatomato-shiblog.com/wp-content/uploads/2024/01/ceaa77731cdfae55471df10811355b0c.png)
でもそれだと、時間と労力が必要で大変ですよね。
しかし、簡単にドメインパワーを上げる方法があります。
それは、ドメインパワーの高いサイトから被リンクを受けることです。
世の中には、被リンクを自分で獲得できるサイトがさまざまありますが、今回はその中でもメジャーなサイトである”ペライチ”について、解説していきます。
ペライチではページを作る必要がありますが、これの記事を見れば、最低限の操作で被リンクを獲得することができます。
ぜひ最後まで見ていってください。
- ペライチでの被リンク獲得方法
- ペライチの登録手順
- リンクの貼り方
被リンク獲得までの手順
ペライチから被リンクの獲得するには、以下の4つを実施する必要があります。
ではひとつずつ説明していきます。
①ペライチの会員登録
![](https://tomatomato-shiblog.com/wp-content/uploads/2023/05/image-12-500x334.jpg)
ここからはペライチの登録手順について、解説していきます。
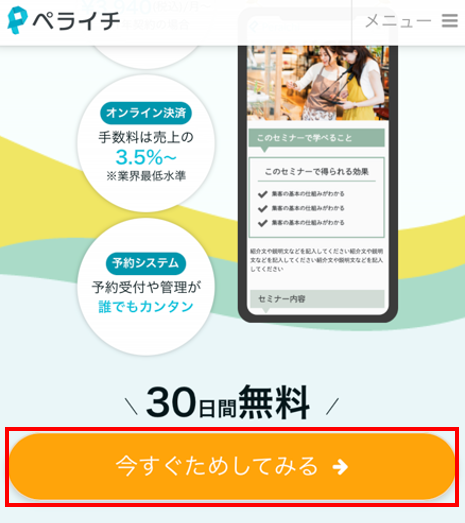
①まずは、以下のリンクからホームページに行きます。
ペライチ![](https://www16.a8.net/0.gif?a8mat=3T6P3I+4Z7HV6+438A+5YJRM)
![](https://www16.a8.net/0.gif?a8mat=3T6P3I+4Z7HV6+438A+5YJRM)
②「今すぐためしてみる」のボタンを押します。
![](https://tomatomato-shiblog.com/wp-content/uploads/2023/04/image-16.png)
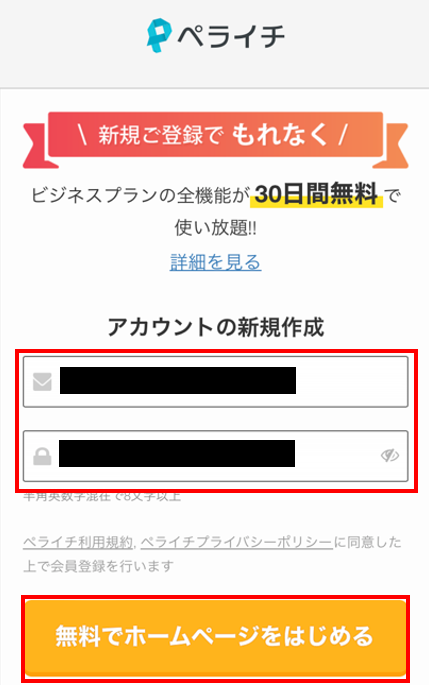
③メールアドレスとパスワードを入力し、「無料でホームページをはじめる」のボタンを押します。
![](https://tomatomato-shiblog.com/wp-content/uploads/2023/04/image-17.png)
④これで会員登録が完了です。
![](https://tomatomato-shiblog.com/wp-content/uploads/2023/04/image-18.png)
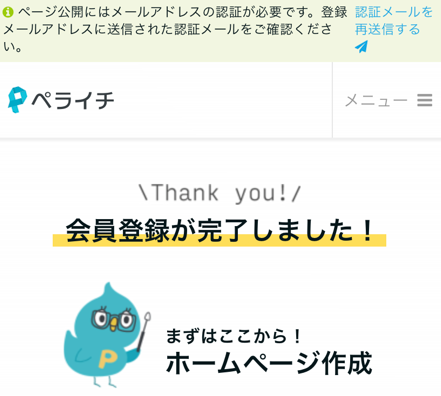
⑤すぐにペライチからメールが届くので、認証用URLを押してください。
![](https://tomatomato-shiblog.com/wp-content/uploads/2023/04/image-19.png)
⑥”メールアドレスの認証が完了しました。”とメッセージが表示されます。これで会員登録完了です。
![](https://tomatomato-shiblog.com/wp-content/uploads/2023/04/image-20.png)
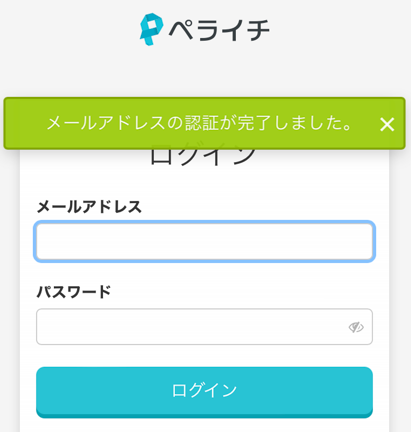
改めて、メールアドレスとパスワードを入力し、ログインします。
②ページの作成
続いて、ペライチのページを作っていきます。
最初なので、そんな難しいものを作る必要はありません。
![](https://tomatomato-shiblog.com/wp-content/uploads/2024/01/ceaa77731cdfae55471df10811355b0c.png)
ひとまず、以下のページを目指して、作っていきたいと思います。
![](https://tomatomato-shiblog.com/wp-content/uploads/2023/04/image-15.png)
それでは進めて参りましょう。
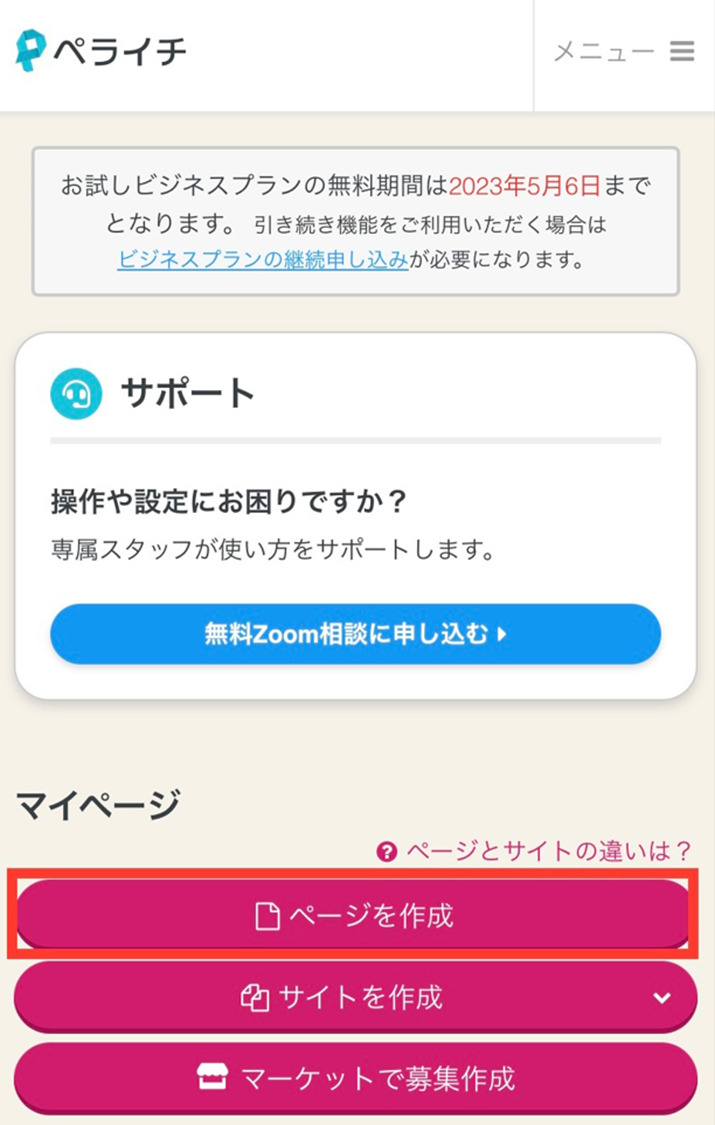
①マイページの「ページを作成」を押します。
![](https://tomatomato-shiblog.com/wp-content/uploads/2023/04/image-5-2.jpg)
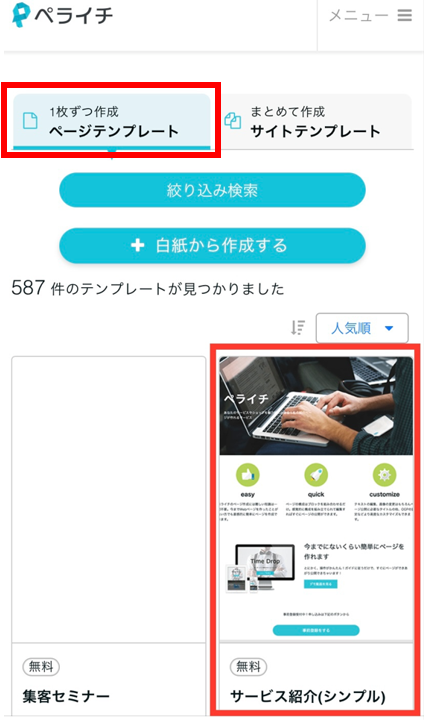
②ページテンプレートから無料のものを選択し、「使う」を押します。※今回はサービス紹介(シンプル)を選択します。
![](https://tomatomato-shiblog.com/wp-content/uploads/2023/04/image-5.png)
![](https://tomatomato-shiblog.com/wp-content/uploads/2023/04/image-6.jpg)
③ページタイトルを入力し、「ページ作成を始める」を押します。
![](https://tomatomato-shiblog.com/wp-content/uploads/2023/04/IMG_E5820-800x1367.jpg)
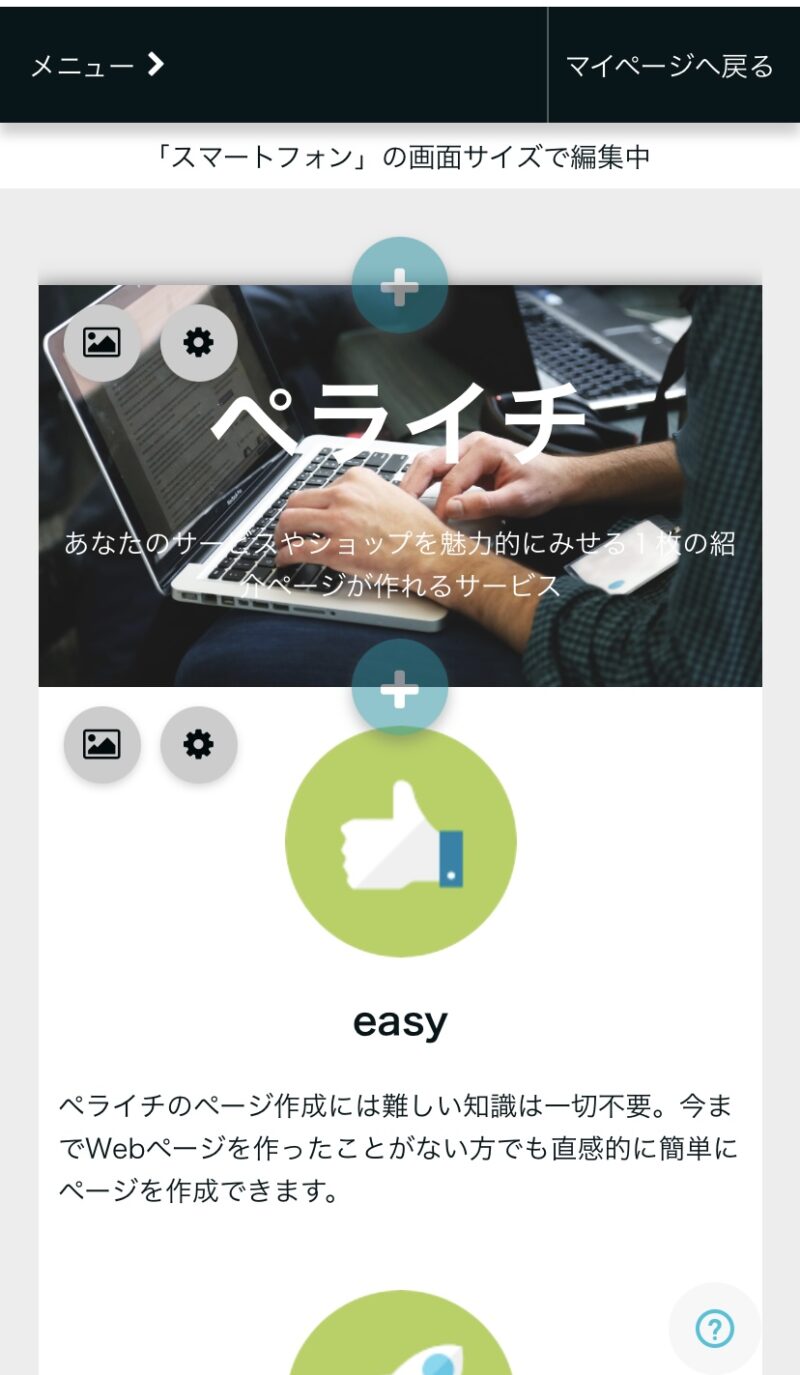
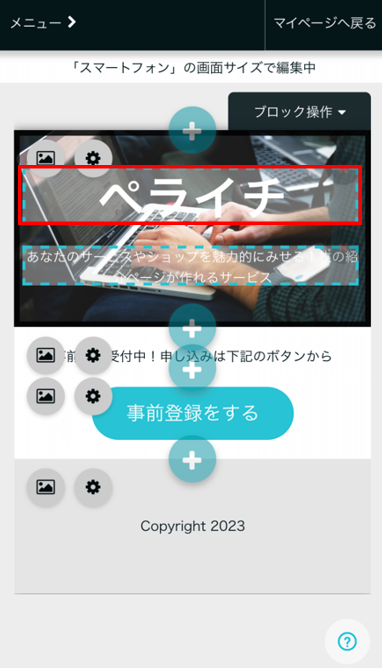
④以下のような画面が表示されます。このテンプレートには、さまざまなブロックがあらかじめ用意されています。必要に応じて使用していきます。
![](https://tomatomato-shiblog.com/wp-content/uploads/2023/04/IMG_E5821-800x1375.jpg)
⑤ヘッダー部のタイトルを変更していきましょう。”ペライチ”の部分をタップします。
![](https://tomatomato-shiblog.com/wp-content/uploads/2023/04/image-6.png)
⑥”ペライチ”から好きなページタイトルを入力し「保存」を押します。
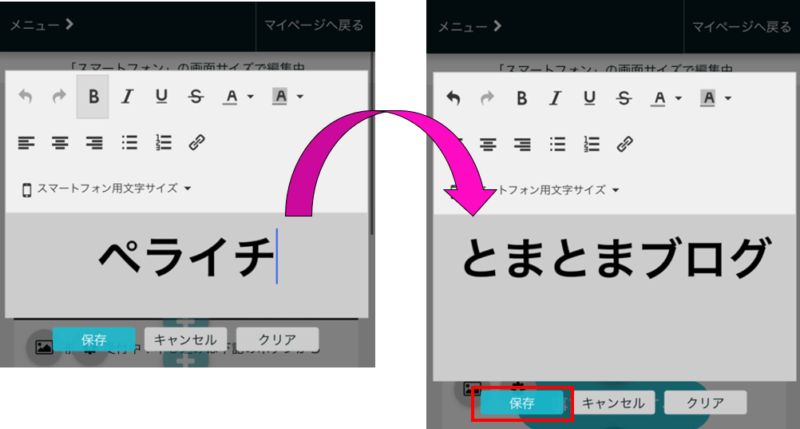
![](https://tomatomato-shiblog.com/wp-content/uploads/2023/04/image-7-800x429.png)
⑦ページタイトルが変更されました。
![](https://tomatomato-shiblog.com/wp-content/uploads/2023/04/image-8.png)
⑧次に不要なブロックを削除していきます。ブロック右上の「×」をタップすると削除することができます。
![](https://tomatomato-shiblog.com/wp-content/uploads/2023/04/image-9.png)
⑨ヘッダー部の写真を変更します。変更する場合は、左上の図のマークを押します。
![](https://tomatomato-shiblog.com/wp-content/uploads/2023/04/image-10.png)
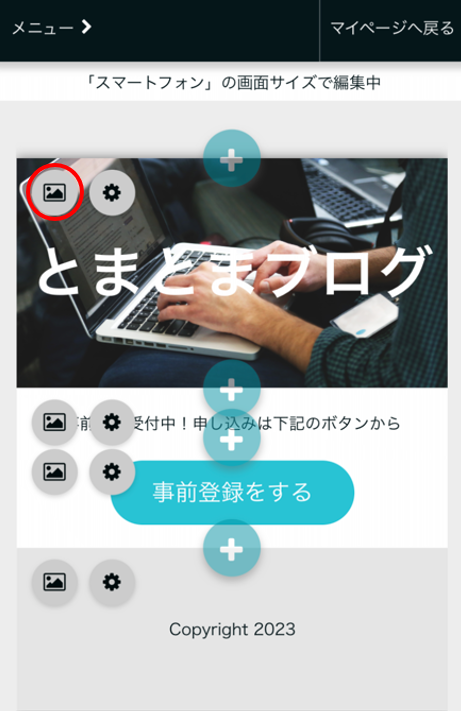
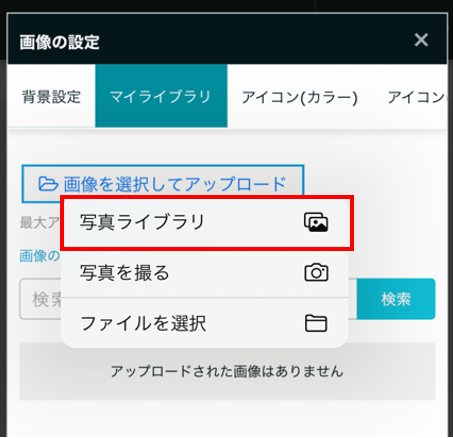
⑩画像の設定画面が立ち上がるので、マイライブラリ⇒「画像を選択してアップロード」を押します。
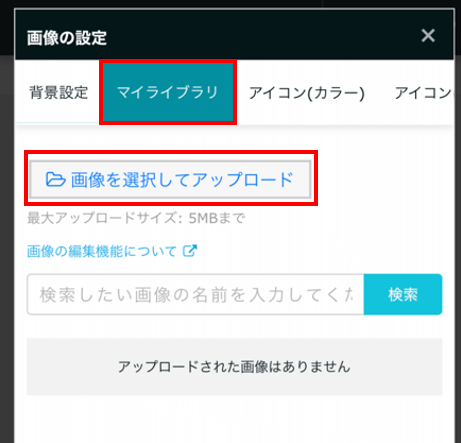
![](https://tomatomato-shiblog.com/wp-content/uploads/2023/04/image-11.png)
⑪写真ライブラリを押します。
![](https://tomatomato-shiblog.com/wp-content/uploads/2023/04/image-12.png)
⑫好きな写真を選択し、「この画像を使用する」を押します。
![](https://tomatomato-shiblog.com/wp-content/uploads/2023/04/image-13.png)
⑬ヘッダー写真を変更することができました。
![](https://tomatomato-shiblog.com/wp-content/uploads/2023/04/image-14.jpg)
③リンクの貼り方
続いて、リンクを貼り方について説明していきます。
![](https://tomatomato-shiblog.com/wp-content/uploads/2024/01/ceaa77731cdfae55471df10811355b0c.png)
ブログのURLを貼り付けないと、被リンクを獲得できないので、確実にやっていきましょう。
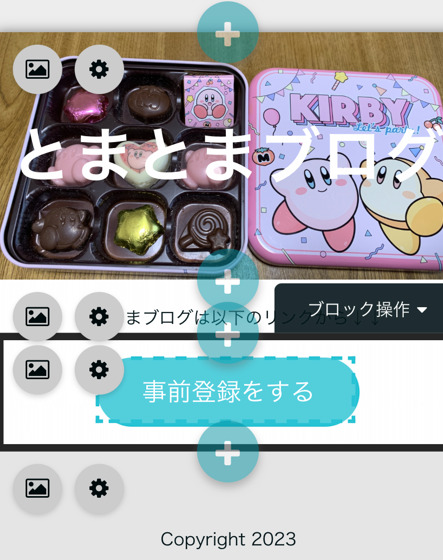
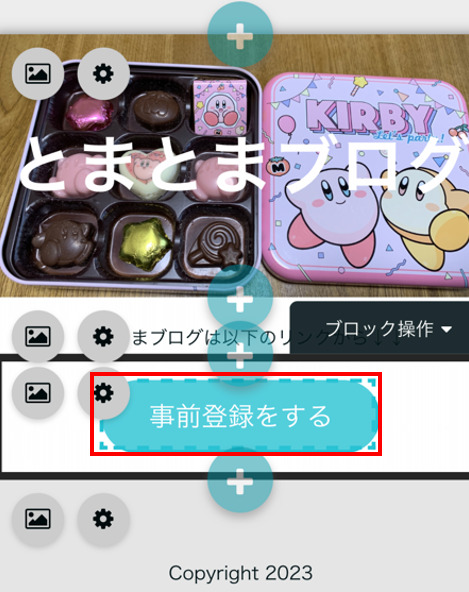
①リンクを貼りたいボタンを押します。
![](https://tomatomato-shiblog.com/wp-content/uploads/2023/04/image-14-1.jpg)
②表示テキストやリンク先の入力を行います。ここで、リンク先にはブログのサイトURLを入力してください。画面下部の「保存」を押す。
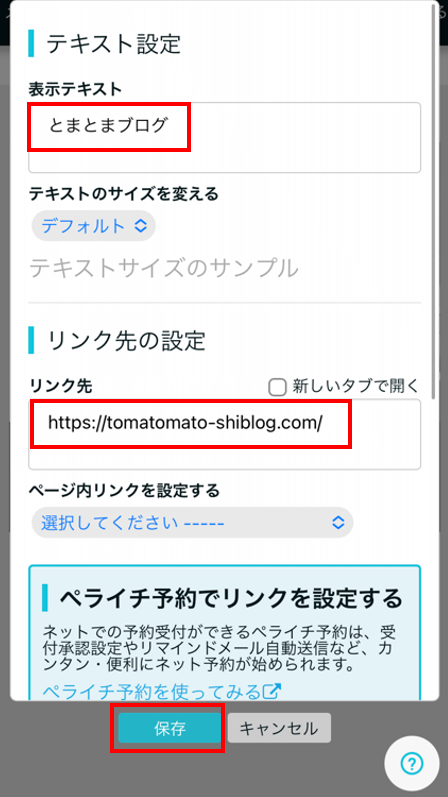
![](https://tomatomato-shiblog.com/wp-content/uploads/2023/04/image-14.png)
③これで設定完了です。
![](https://tomatomato-shiblog.com/wp-content/uploads/2023/04/image-15.png)
④ページを公開
作成したページをインターネットに公開する必要があります。
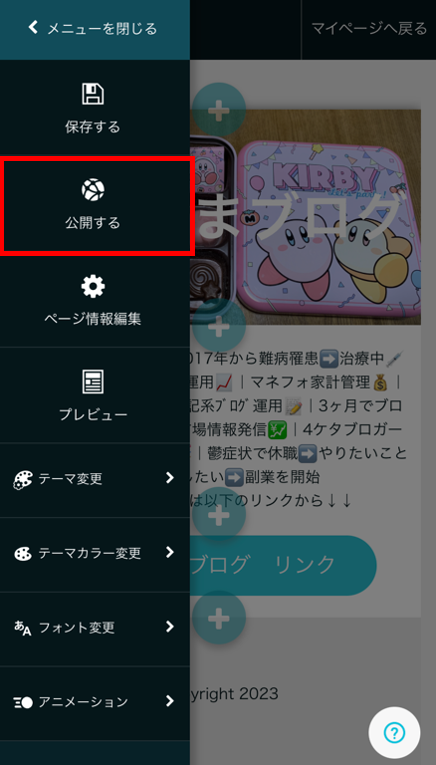
①左上のメニューを押し、「公開する」を押します。
![](https://tomatomato-shiblog.com/wp-content/uploads/2023/04/image-22.png)
表示されている内容を確認し、「確認しました」を押す。
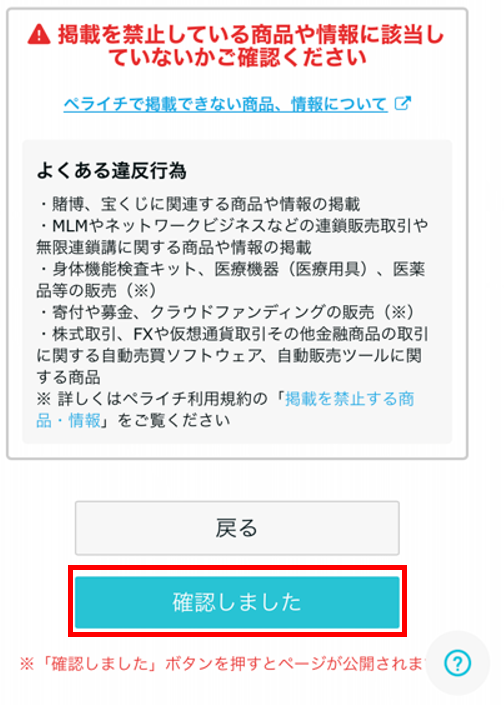
![](https://tomatomato-shiblog.com/wp-content/uploads/2023/04/image-23.png)
ページを公開しましたと表示されます。
![](https://tomatomato-shiblog.com/wp-content/uploads/2023/04/image-24.png)
これで完了です。お疲れさまでした。
ちなみに私がペライチのページはこんな感じになります。
被リンク確認方法
![](https://tomatomato-shiblog.com/wp-content/uploads/2022/02/concept-g358fcdcc1_640-500x333.jpg)
ここまでペライチのページを作成してきましたが、本当にリンクできているのでしょうか。
確かめる方法は、実際にペライチのサイトに入って、リンクボタンを押します。
![](https://tomatomato-shiblog.com/wp-content/uploads/2024/01/ceaa77731cdfae55471df10811355b0c.png)
リンクボタンを押し、実際にサイトに繋がればOKです。
無料でペライチを利用できるのか
![](https://tomatomato-shiblog.com/wp-content/uploads/2023/05/d78faf43d47db758bfb04526c01a0ed6-500x334.jpg)
ペライチは無料で利用することができます。
ちなみに、会員登録時にはビジネスプランに加入していますが、最初の1カ月は無料期間のため、料金は発生しません(以下図参照)。
![](https://tomatomato-shiblog.com/wp-content/uploads/2023/04/image-22-500x786.jpg)
![](https://tomatomato-shiblog.com/wp-content/uploads/2024/01/ceaa77731cdfae55471df10811355b0c.png)
”ビジネスプランの継続申込”をしなければ、自動的にスタートプランに切り替わります。
なので、何もしなくでOK!
まとめ
ペライチの被リンク獲得手順について、解説していきました。
ドメインパワーを上昇させることは大変ですが、このような方法を使えば比較的簡単に、ドメインパワーを上昇させることができます。
少しやる事は多いですが、その分得られるメリットは大きいので、ドメインパワーを上げたい方はぜひやってみてください↓↓
簡単ホームページ作成ペライチ![](https://www14.a8.net/0.gif?a8mat=3T6P3I+4Z7HV6+438A+5YRHE)
![](https://www14.a8.net/0.gif?a8mat=3T6P3I+4Z7HV6+438A+5YRHE)
コメント